Your phone is good enough. The problem is lighting, angles, and context. Here’s how to shoot fabric photos that make clients reach for their wallet.
You have beautiful fabrics. Your Instagram photos of them look like carpet samples. This isn’t a camera problem — modern phones shoot at higher resolution than most DSLRs from five years ago. It’s a technique problem. And it’s costing you clients who scroll past your posts without a second glance.
The good news: fabric photography follows a few reliable rules. Learn them once, and every fabric you photograph will look the way it deserves.
Why Most Fabric Photos Fail
The most common mistakes are easy to spot once you know what to look for:
- Flat lighting — Overhead fluorescents kill texture. A smooth Super 150s and a rough tweed look identical under flat light.
- No context — A fabric square on a white background says nothing. Is this for a boardroom suit or a country jacket?
- Wrong angle — Shooting straight down removes depth. Fabric is three-dimensional; your photos should show that.
- Inconsistent color — Auto white balance makes navy look blue, charcoal look brown, and cream look white. Clients arrive expecting one color and see another.
The Setup: What You Need
You don’t need studio equipment. Here’s the minimum kit:
| Item | Cost | Why It Matters |
|---|---|---|
| Your phone (2020 or newer) | Already own | Any recent iPhone or Android flagship is sufficient |
| Natural window light | Free | Best light source for accurate color and texture |
| White foam board ($3) | ~$3 | Bounce fill light to soften shadows |
| Wooden or marble surface | Already own | Provides context and warmth |
| Fabric steamer | Already own | Wrinkled fabric photographs terribly |
The Five Rules of Fabric Photography
Rule 1: Side Light, Not Top Light
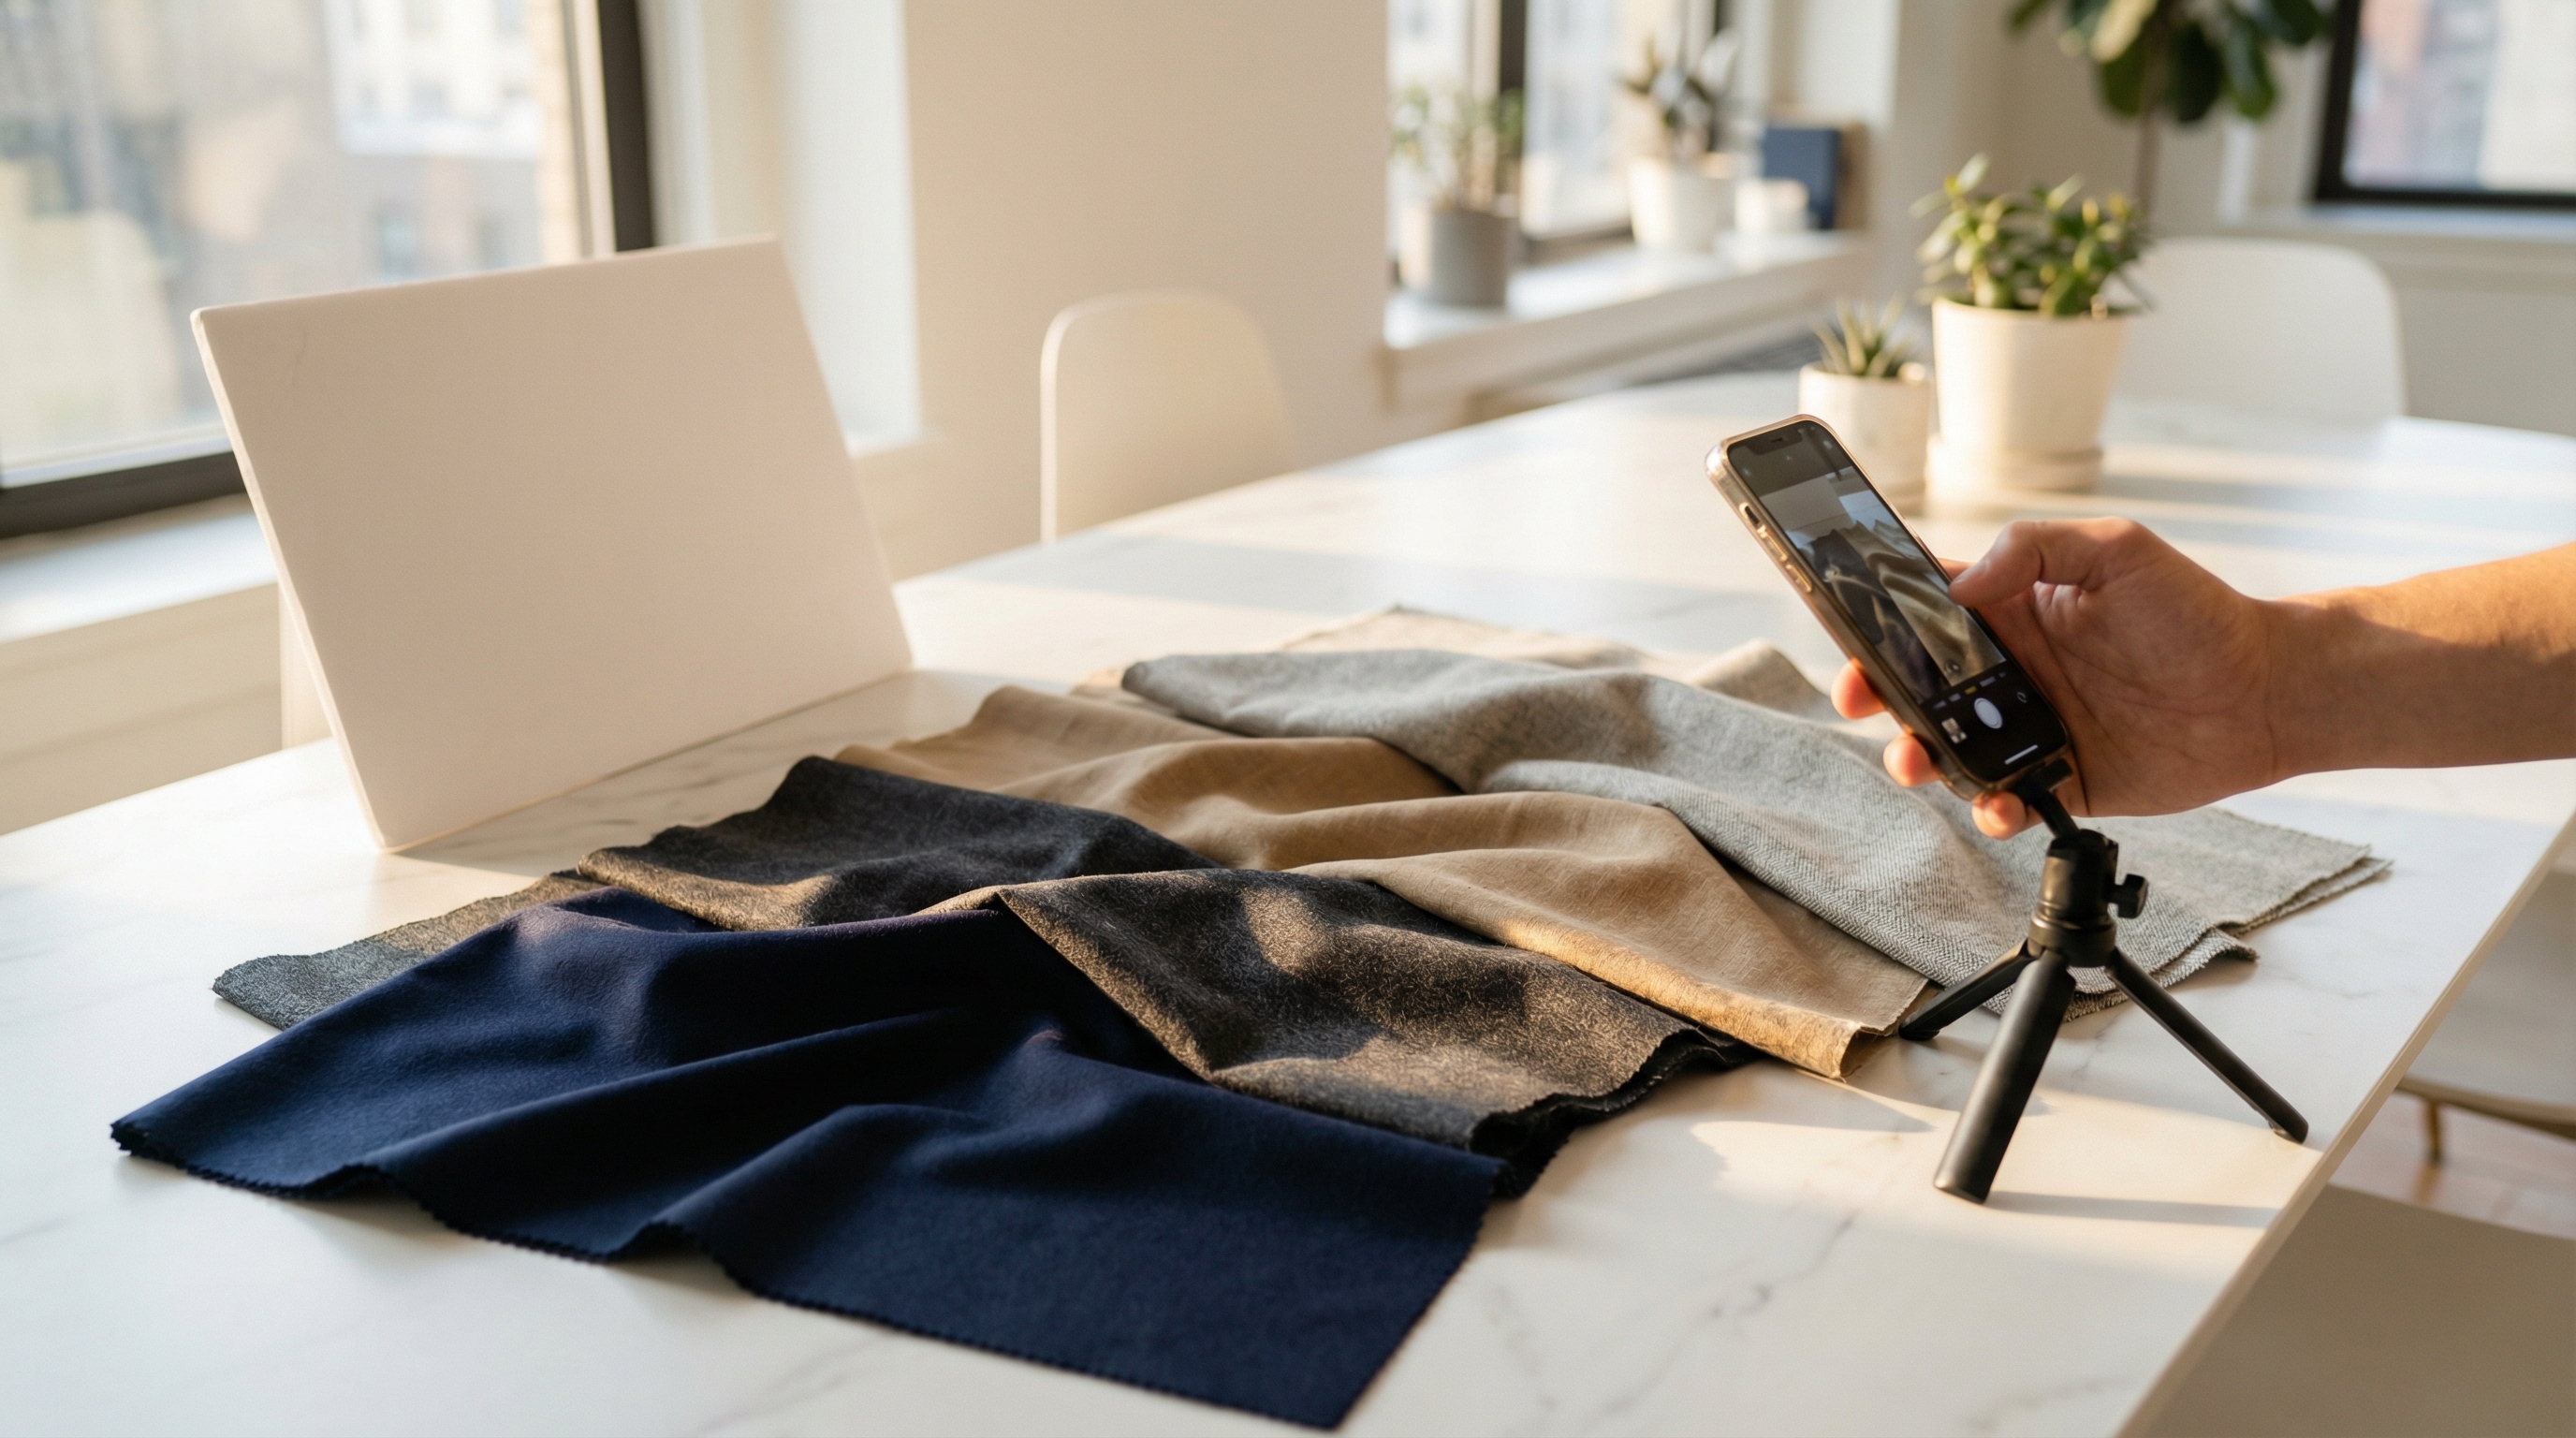
Position the fabric next to a window so light falls across it at a 45-degree angle. This creates tiny shadows in the weave that reveal texture. A herringbone pattern pops. A flannel looks soft. A gabardine looks crisp. Under overhead light, they all look the same.
Rule 2: Shoot at 30–45 Degrees
Hold your phone at an angle, not directly above. This shows the fabric’s depth — the way light catches the top of a weave and shadows the bottom. For best results, shoot from slightly above and to one side, angling down at about 30–45 degrees.
Rule 3: Show Context, Not Just Cloth
A fabric draped over a wooden table with a tape measure and chalk in the background tells a story. A fabric square on white tells nothing. Context cues help the viewer imagine the fabric as a garment.
Effective context combinations:
- Fabric bolt + leather button box + tailor’s scissors
- Draped fabric + mannequin shoulder (partial frame)
- Swatch on a finished suit jacket (same or complementary fabric)
- Fabric with a coffee cup and notebook (lifestyle, consultation feel)
Rule 4: Lock Your White Balance
Auto white balance is the silent killer of fabric photography. Your phone constantly adjusts color temperature, making the same navy fabric look different in every photo. On iPhone, use the exposure lock (long-press the screen). On Android, switch to Pro mode and set white balance manually.
Rule 5: Shoot Both Detail and Full Drape
Every fabric needs at least two photos: a close-up that shows the weave structure (6–12 inches away), and a wider shot that shows how it drapes and moves (2–3 feet, ideally on a form or hand). The detail shot sells quality. The drape shot sells the vision.
Post-Processing: Keep It Honest
Light editing is fine. Heavy filtering is not. Your goal is to match what the client will see in person.
- Do: Adjust exposure, sharpen slightly, correct white balance
- Don’t: Boost saturation, add Instagram filters, use dramatic presets
Where to Use Your Photos
Good fabric photos serve multiple purposes:
- Instagram/social media — Your primary discovery channel. Post consistently with detail and context shots.
- WhatsApp consultations — Send fabric options to clients between visits. A great photo replaces a physical meeting.
- Your website — Gallery pages that let clients browse your current fabric offerings.
- Lookbooks — Combine fabric photos with AI visualization to show what the finished garment will look like.
The Next Step: From Photo to Preview
Great fabric photography is the foundation. But the real conversion happens when you go one step further and show the client what that fabric looks like as a finished garment — on them. That’s where AI visualization picks up where photography leaves off.
Photograph the fabric beautifully to capture their attention. Then visualize the result to close the deal.